I just finished reading an uplifting novel by Mitch Albom (which of his novels are not uplifting?), “The First Phone Call from Heaven.” If you’d like, you can read my review on the book here.
Happy Thursday!

I just finished reading an uplifting novel by Mitch Albom (which of his novels are not uplifting?), “The First Phone Call from Heaven.” If you’d like, you can read my review on the book here.
Happy Thursday!

After making a whole set of Valentine’s to hand out at the office, I had to make actual cards to send to the fam. These are the easiest Valentine’s cards to make, and they are adorable and handcrafted. Perfect to send to grandma (gets me on her good side! I’m definitely the favorite).
First off, these are the supplies you will need:
 From here the steps are easy:
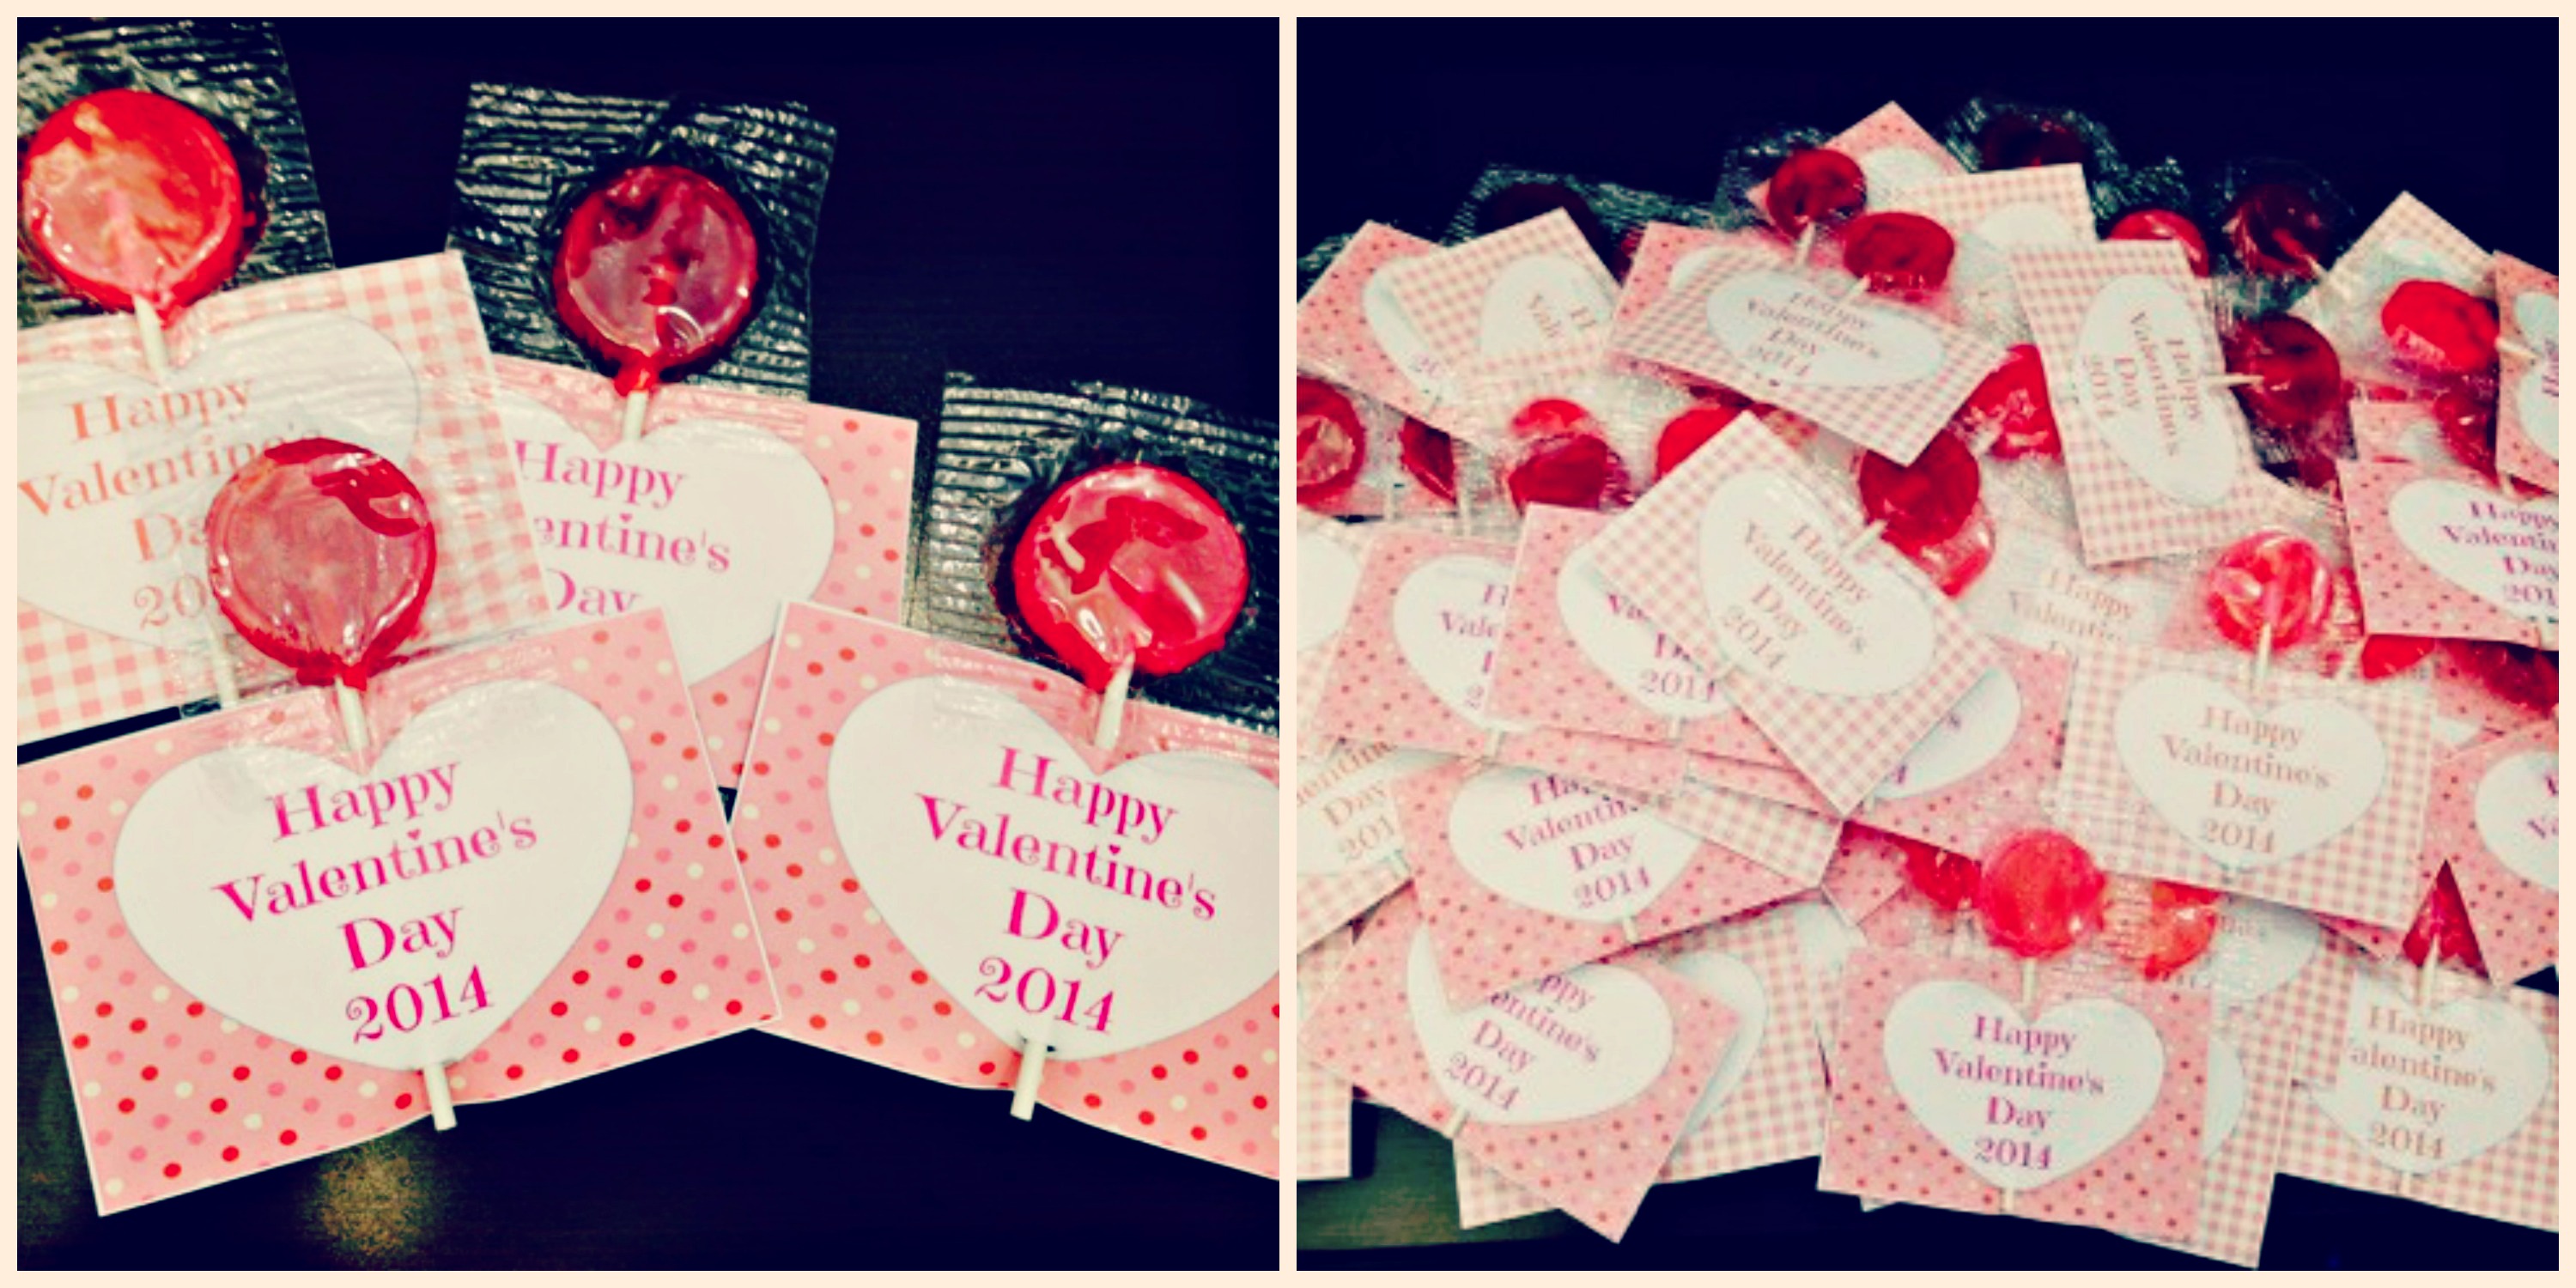
 I like to make several at a time so that it doesn’t take me as long. Your finished product will look something like this:

It may be slightly obvious by now how much I love holidays! I like to celebrate them at work too, to give co-workers a little something to brighten up their days. Because we have almost 100 local employees at my branch, it can be tough to do something for everyone without spending a fortune. This year for Valentine’s Day, I did something VERY simple and cheap, but hopefully will put smiles on the faces of our employees!
I started with some simple suckers, you can find these at the Dollar Tree. Any suckers will work, the cheaper the better! Remember, this is more about the thought, and less about spending a fortune!
Then I designed some simple Valentines, courtesy of PicMonkey (I highly recommend getting used to this site, it is so easy and fun to use). Because my company can not officially support any holidays, I couldn’t add my company’s name on the bottom, so I kept it simple. You can print my tags, or make some of your own! Find my tags here. I used generic white cardstock to give it a thickness, so it wasn’t too flimsy. After printing and cutting them all out, you have to cut holes for the sucker stick. These should be as small as possible, the bigger the hole, the more the sucker will slip out (if this happens, you can just add a piece of tape to the back). I recommend 1/2 centimeter or less. You need a hole on the bottom, and a hole on the top. Then just slide in the sucker, and it’s complete! You have a cute little Valentine to distribute at work, school, or even to neighbors!

Sometimes you want to send something a little special to that special someone! But sometimes your bank account doesn’t want it to be “too special.” So here’s a simple solution to your problem: Send a birthday box!
I’ve sent different variations of birthday boxes. I ALWAYS use a USPS Flat Rate box, because it’s cheaper and you can send more for the price. Sometimes I’ve used the small box and just sent birthday party “supplies,” which can brighten anyone’s day. Today though, I’ll show you a little more upgraded birthday box.
I have twin sisters who LOVE to celebrate their birthday (I’m with them, who doesn’t?!). But because I live far away from them, I wanted to help them celebrate in a way I couldn’t personally. First, I picked up different size Flat Rate boxes at USPS (the best thing about these boxes, is they’re FREE to take! So you don’t pay until you send the box). I took two different medium boxes, figuring it would depend what I put in before I could choose (I ended up with the square medium box).
Then I went shopping! The best part! I picked up birthday supplies: birthday party hats, birthday streamers, birthday balloons, whatever you can find. Think: Whatever would be at a birthday party! I picked up candy, cupcakes, cookies, liquor (for those over 21!), and some random treats.
When I got home, I got to work! I used Modge Podge to stick scrapbooking paper to the inner box sides (I chose this for this box because they are girly girls! However, it can be fun to use general wrapping paper on the inside instead of designed paper). Then I cut up some sheets of birthday sayings for “confetti” of sorts (also can get this off birthday wrapping paper). I also made little pieces of curly cues from the wrapping paper I had. Then I filled the box!
Then you have the finished product! Close it up and send it in the mail! Another great thing about the flat rate boxes is that they will arrive in 2-3 days, which also helps to keep the pastries fresh! 🙂
